
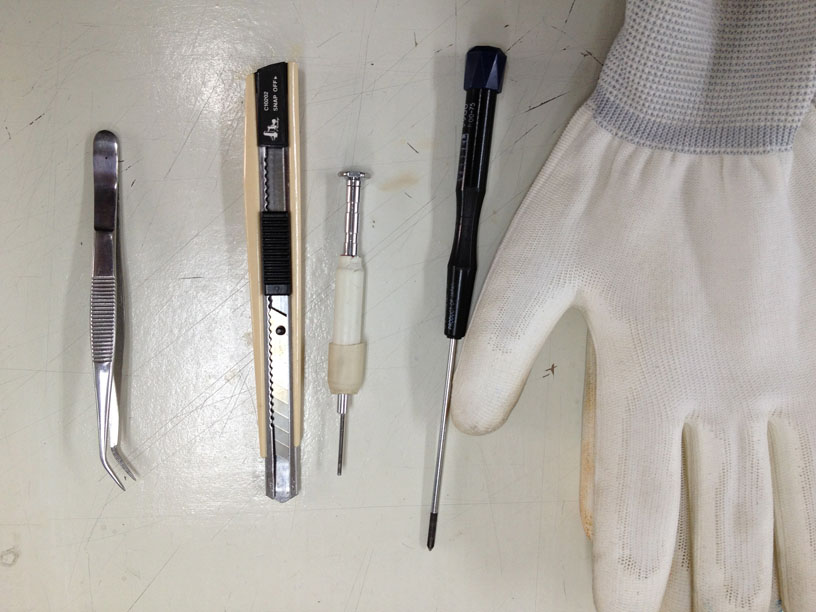
Prepare the tools and insulted gloves for the work.


Prepare double-sided adhesive tape for screw capturing. All removed screw must be stored in order.

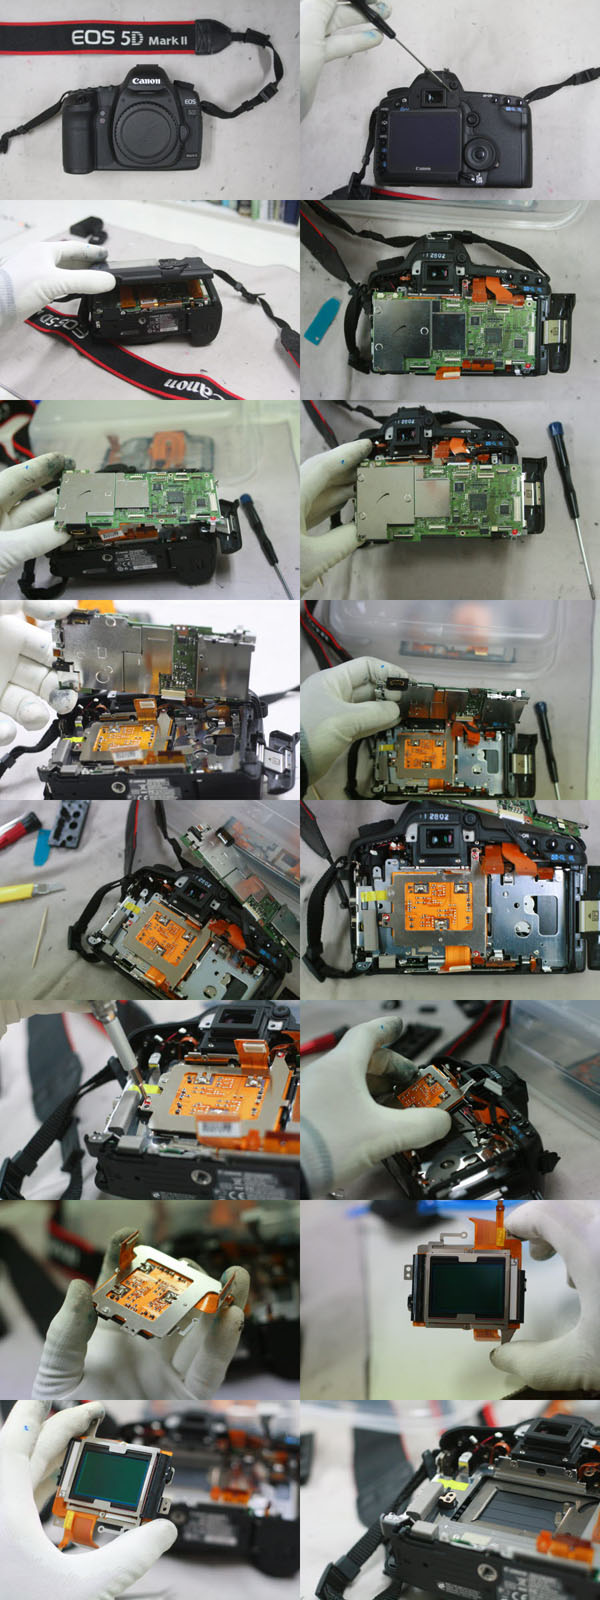
Unscrew the 2 small hex screws.


You can see the folded cables at the backside of Excooler label removed.

Using pinset carefully and slowly pull out the heat shrinkable tube covered cable connections.


Please remove the shrinkable cable covering and capture the photo of the cable connections for safe reconnection.

Using soldering iron detach the cable connection. Remember the original cable connections.
Please attach the identification labels to the separated cables.

Remove two fixing screw at the LCD hinge .


Remove the hinge cover.

Remove the 3 screw on bottom of camera.
Remove the screws under right hand grip.
Remove 3 screws near view finder.
Take off the rubber cover of left side.
Remove the screws on the left side.

Open the battery cover and memory slot cover. Turn the LCD to 90degree.
\\\\\\\\\\\\\\\\\\\\\\\\\\\\\\\\\\\\\\\\\\\\\\\\\\\\\\\\\\\\\\\\\\\\\\\\\\
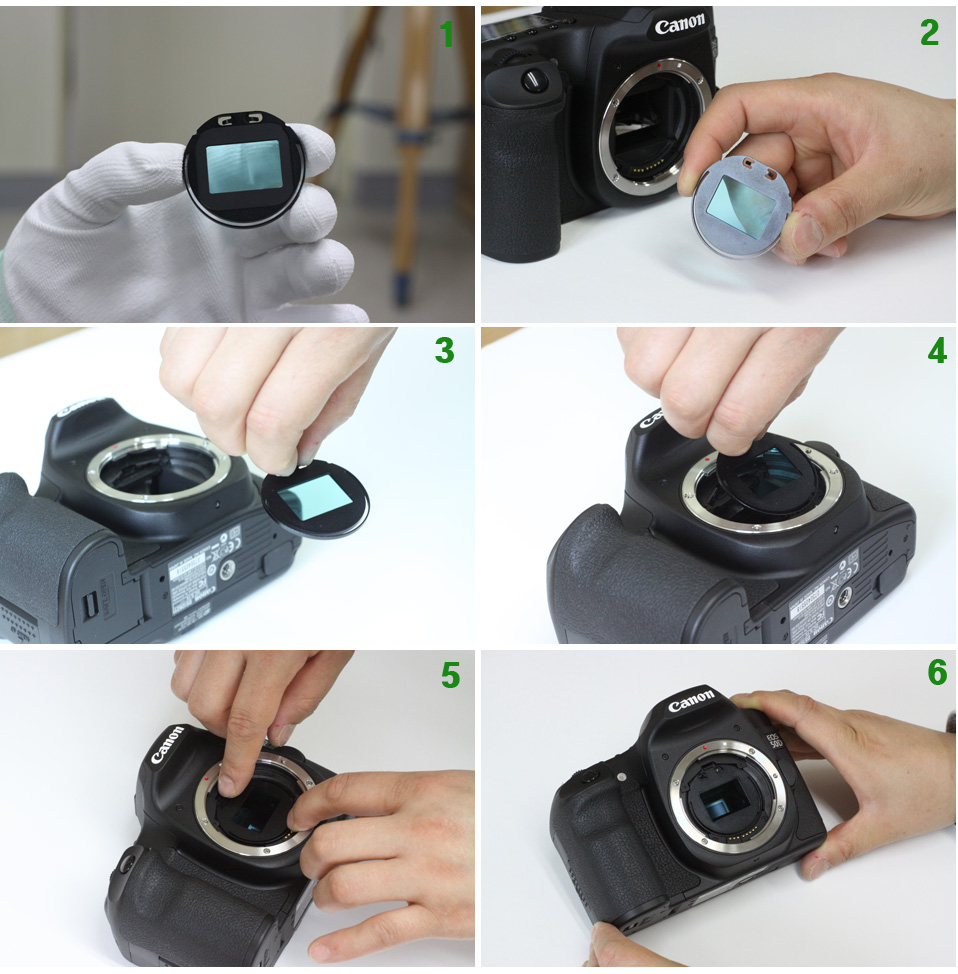
Hold the excooler housing firmly and lift up the back cover very very slowly.

Slightly open the back cover to exposure the LCD connector.

Release the FPCB connector from Main Board. Using pinset hold and Lift up.

Remove the back cover from the slowly. The separated cables must be arranged for reassemble.

Please check this connector . disconnect-> reconnect
Reassemble the camera.
Re-assembly process is the reverse order of disassembly.
Important things on your resemble work.
Check the connector coupling; LCD to M/B, trash button connector.
The right +,- soldering and insulation of temperature sensor, Peltier, Anti-dew heater cable.
I pray for your success in DIY repair. God bless you.


